Bounding Box Export
This guide explains how to use CADshift’s bounding box export feature to add material size information to your DXF files.
What is Bounding Box Export?
A bounding box is a rectangle that fully encloses your part geometry. CADshift can add two types of bounding boxes to your DXF exports:
- Axis-Aligned Bounding Box (AABB)
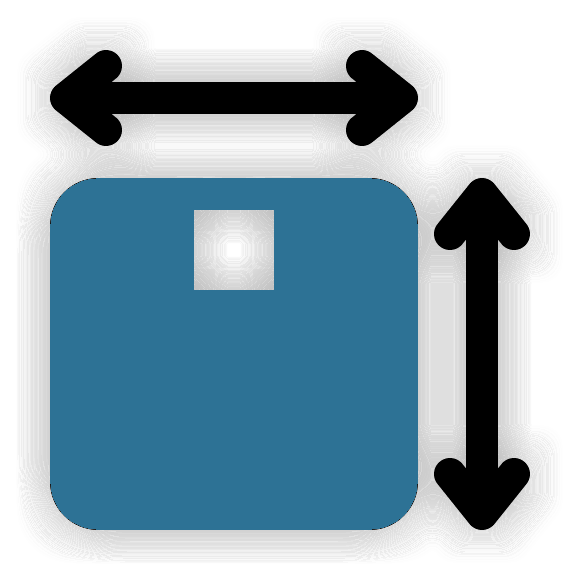 - Rectangle aligned with the X and Y axes
 - Minimum Area Bounding Box (MABB) - Smallest possible rectangle at any rotation angle
These boxes help with:
- Material size estimation
- Nesting optimization
- Stock allocation
- Cost calculation
Types of Bounding Boxes
Axis-Aligned Bounding Box (AABB)
┌─────────────────┐
│    ╱╲           │
│   ╱  ╲          │
│  ╱    ╲         │
│ ╱      ╲        │
│╱________╲_______│
└─────────────────┘
- Always aligned with X/Y axes
- Quick to calculate
- May be larger than necessary for rotated parts
- Useful when stock material is pre-cut to standard sizes
Minimum Area Bounding Box (MABB)
    ╱─────────────╲
   ╱    ╱╲         ╲
  ╱    ╱  ╲         ╲
 ╱    ╱    ╲         ╲
╱    ╱______╲_________╲
╲                     ╱
 ╲___________________╱
- Rotated to minimize area
- Uses convex hull + rotating calipers algorithm
- Optimal for nesting calculations
- Shows true minimum material requirement
Enabling Bounding Box Export
- Open the DXF Export PropertyManager
- Click the Settings tab
- Scroll to the Sheet Metal Processing section
- Check Export bounding box
Smart Box Selection
CADshift intelligently determines which boxes to draw:
| Part Orientation | Boxes Drawn |
|---|---|
| Aligned with axes | AABB only (MABB would be identical) |
| Rotated/diagonal | Both AABB and MABB |
| Complex geometry | Both boxes for comparison |
This prevents redundant overlapping boxes when they would be the same.
Layer Configuration
Bounding boxes are placed on a dedicated layer. Set its name and colour on the Bounding box row of your Output Profile’s Layers grid:
- Bounding Box Layer - Set custom name and color
- Typical names: “BOUNDING_BOX”, “MATERIAL_SIZE”, “NESTING”
Tip
Use Cases
Material Estimation
Quickly determine the minimum sheet size needed:
Part: Bracket-001
AABB: 150mm x 200mm
MABB: 142mm x 185mm

Minimum stock: 150mm x 210mm sheet (with margin)
Nesting Optimization
Import DXF files into nesting software with bounding boxes to:
- Pre-calculate fit on sheets
- Optimize rotation angles
- Reduce material waste
Cost Calculation
Use bounding box dimensions for quick cost estimates:
- Material cost = Area × Price per unit area
- MABB gives most accurate material usage
Quality Control
Verify part sizes match specifications:
- Compare bounding box to expected dimensions
- Quickly identify scaling issues
Dimension Annotations
When bounding box export is enabled, CADshift can also add dimension text showing the box sizes. This is controlled by the metadata export settings.
Example annotation:
AABB: 150.00 x 200.00 mm
MABB: 142.35 x 185.20 mm
Algorithm Details
Axis-Aligned Box
- Find minimum and maximum X coordinates
- Find minimum and maximum Y coordinates
- Create rectangle from these extents
Minimum Area Box
- Calculate the convex hull of all geometry points
- Apply rotating calipers algorithm
- Test rectangle at each hull edge orientation
- Return the rectangle with smallest area
The rotating calipers algorithm guarantees finding the optimal minimum-area rectangle in O(n log n) time.
Workflow Example
Step 1: Enable Export
- Open DXF Export settings
- Check Export bounding box
- Configure bounding box layer name
Step 2: Export DXF
- Select your parts
- Click OK to export
- Open the resulting DXF file
Step 3: Use the Data
In your CAD or nesting software:
- Isolate the bounding box layer
- Read dimensions from the box geometry
- Use for material planning
Best Practices
- Use consistent layer names - Makes automation easier
- Include in file naming - Add
<AABB_WIDTH>x<AABB_HEIGHT>to filenames - Set appropriate precision - Match your manufacturing tolerance
- Hide for production - Turn off bounding box layer before cutting
Troubleshooting
Bounding box not appearing
- Ensure Export bounding box is checked in settings
- Verify the bounding box layer is visible in your DXF viewer
- Check that geometry exists to create a box around
Box seems too large
- Check for stray geometry (hidden lines, construction geometry)
- Enable Laser cutting optimization to remove unwanted entities
- Review all layers for unexpected geometry
MABB same as AABB
Related Features
Bounding box dimensions can be used in:
- File naming - Include box dimensions in the filename
- Metadata export - Embed dimensions as text in the DXF
- Custom properties - Reference in SOLIDWORKS custom properties
Next Steps
- Learn about Metadata Export to embed dimension text
- Configure Custom File Names with bounding box tokens
- Set up Layer Configuration for your workflow
- Previous
- Layer Configuration
- Next
- Metadata Export